Navigate to Patient's Chart
1. Login to ScriptSure: www.scriptsure.com.
2. Search for and select the patient.
3. Once you select the patient, the system will automatically take you to the chart.
Settings
Click "Settings" to view more options.

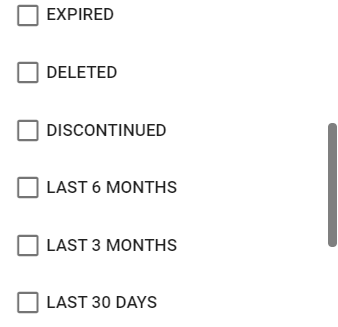
Default View Setting
- Choose one of the view options to filter the list of prescriptions. This will set your "Default View Setting"; when you find a new patient, this will continue to be the default view that is displayed.
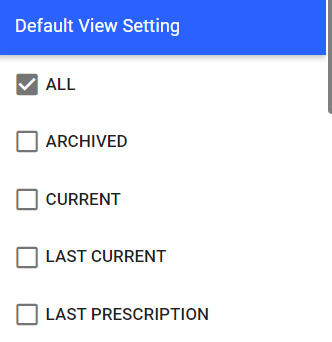
- To learn more about the following options, see below.

Eligibility History
- Click "Eligibility History" to find insurance information for the patient. This would only be needed in rare circumstances. If no insurance pulled up automatically for the patient, and later the demographics are updated in ScriptSure, this option can be selected to manually check for insurance again.
- Note: This should only be used once a day per patient.

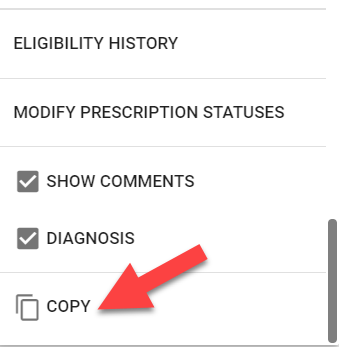
Modify Prescription Statuses
- To edit or create a new status, click "Modify Prescription Statuses".

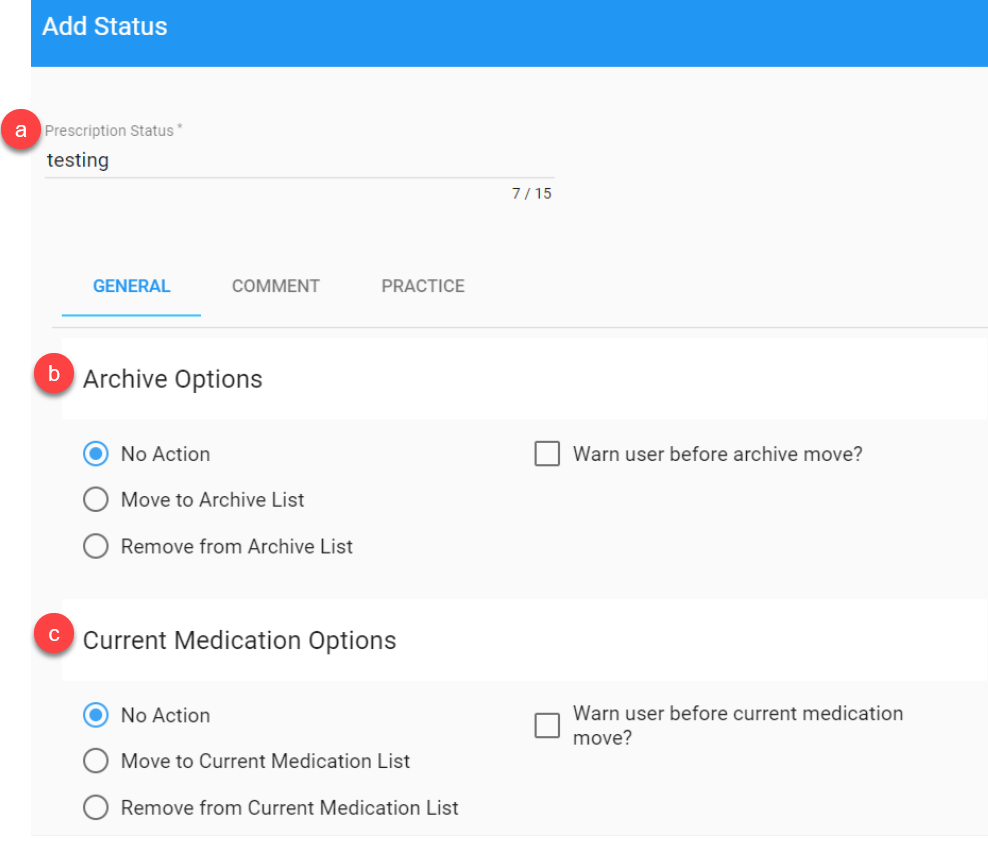
- You can use this option to create your own status. The status is highlighted in the example below.

a. Prescription Status: Name the status
b. Archive Options: This option can be used to add an action to the status. For example, if you choose "Move to Archive List", the order will be marked as archived once this status is selected. Check the box for "Warn user before archive move" to notify the user of the change before the script is marked as archived.
c. Current Medication Options: The way this option works is similar to "Archive Options". Instead of marking the script as archived, this option can either move the order to the current medication list or remove it from the list. Check the box for "Warn user before current medication move" to notify the user of the change before the script is moved.
d. Pad Date: Adding a number in this field will add that number of days to the expiration date to pad the expiration date.
e. Color Options: Select a color if you would like the prescription line to be highlighted in a certain color when the status is selected.

Comment Options (Optional): To add a comment to the status, check "Active". Then complete the remaining fields as preferred.

Practice: Select the practice(s) that should have access to use this status and then click "Save".

To Select your Status:
- Click the status.

- Select the appropriate status. (For this example, I am using the status: testing.)

- It will change the status and the color if you selected a color during setup. Since I selected the purple option, my example is highlighted in purple.

Show Comments

- If you check the box to "Show Comments", the icon below will be displayed on scripts with comments. Click the icon to view the comments.

- A box will pop up with a list of comments for that script. From this box, you can edit, archive, or add comments.

Diagnosis
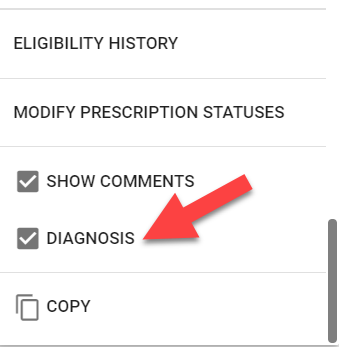
- If you check the box for "Diagnosis", the icon below will be displayed on any scripts with diagnoses attached.
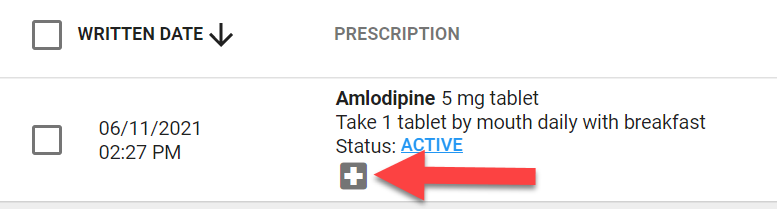
- Click the icon to view the diagnosis.

Copy
- This is another way to copy the medication list to your clipboard. (It works the same as this shortcut.)
Was this article helpful?
That’s Great!
Thank you for your feedback
Sorry! We couldn't be helpful
Thank you for your feedback
Feedback sent
We appreciate your effort and will try to fix the article