Only administrators have access to manage users. Return to top
TABLE OF CONTENTS
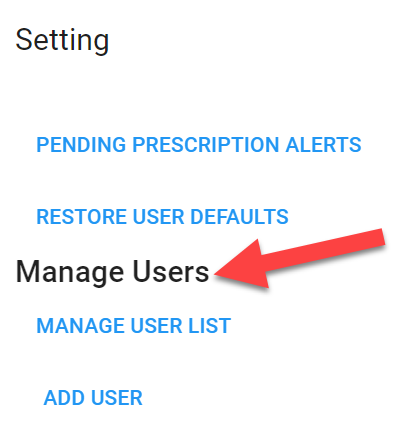
Navigate to "Manage Users"
- Login to ScriptSure: www.scriptsure.com.
- Click your name in the top righthand corner.

- Select "Settings"

- Scroll to "Manage Users"
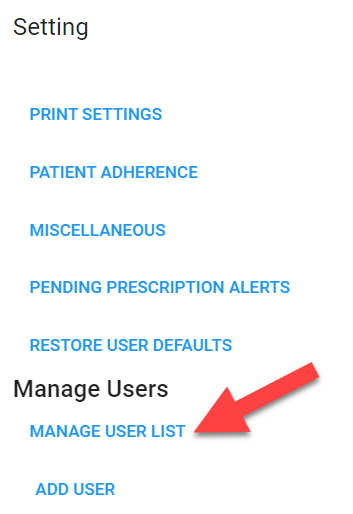
Manage User List
- Click "Manage User List"
- At the top, you have an option to add new users. (For more details on the steps to add a user, click here.)

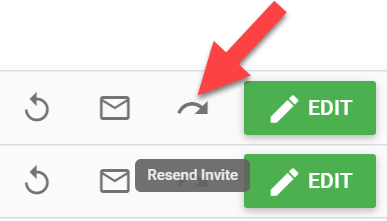
- Scroll to the right, and you will find options to "reset email", "send welcome email", "resend invite", and "edit".

Send Password Reset
Click here to reset the user's password. The user will receive an email with prompts to reset their password.

Send Welcome Email
Click here to send a welcome email to the user. The email will come from accounts@dawsystems.com and will have a link to launch ScriptSure along with the username.

Resend Invite
Click here to resend an invite to the user. Then, the user will receive an email prompting them to complete their registration to ScriptSure.
Edit
To edit the user's information, click "Edit". This will open their profile settings. There will be 8 tabs listed at the top of the screen.

1. General:
Here you can edit the user's basic information like name spelling, email address, or phone number. Once you are finished with any edits click "Complete", or click "Next" to move to the next page.

2. Security:
Select if the user is a "Prescriber" or "Supporting User". The user can set up challenge questions when they complete their registration. Once you are finished with any edits click "Complete", or click "Next" to move to the next page.

3. Practices:
Add only the practice(s) this user should have access to. Once you are finished with any edits click "Complete", or click "Next" to move to the next page.

4. Applications:
"ScriptSure" should be listed as the application. Click "Next" to move to the next page.

5. Prescribe Using:
Add any providers the user can prescribe using. In the example below, Johnny Doctor has privileges to prescribe for Indiana Jones.
*For Supporting Users: This will be the last applicable page, so you will click "Complete" instead of moving to the next page.
*For Providers: Once you are finished with any edits click "Complete", or click "Next" to move to the next page.

*Pages 6-8 are for providers only.*
6. Prescribe For (Providers only):
Here, you can add any users that should have access to prescribe for this user. In the example below, Adam Nurse can prescribe on behalf of Johnny Doctor. Once you are finished with any edits click "Complete", or click "Next" to move to the next page.

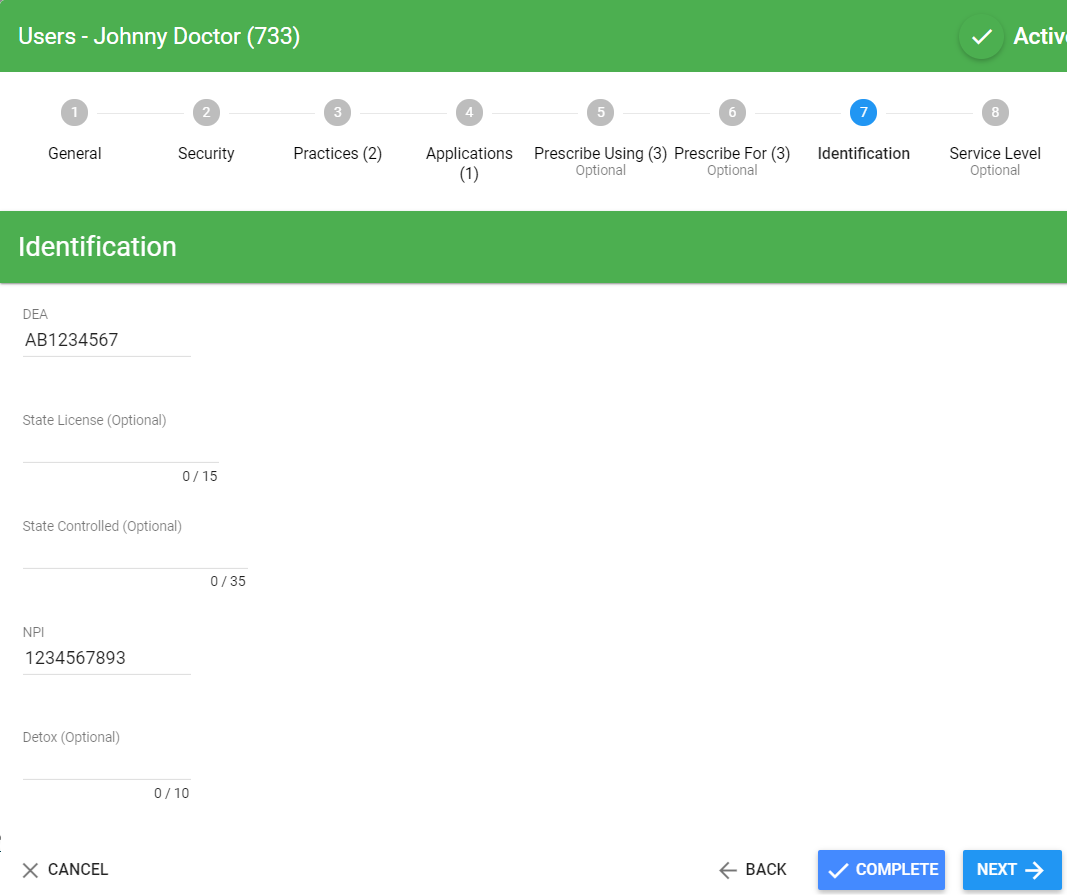
7. Identification (For providers only):
The provider's DEA and NPI must be entered here. The other fields are optional. Once you are finished with any edits click "Complete", or click "Next" to move to the next page. (NOTE: If you leave the DEA blank, you will not be able to register for controls on the next page.)
8. Service Level (For providers only):
Check the box for each service level(s) the provider prefers, and then click "Register". For a provider to prescribe controlled medications, the "Controlled Substances" option must be checked. 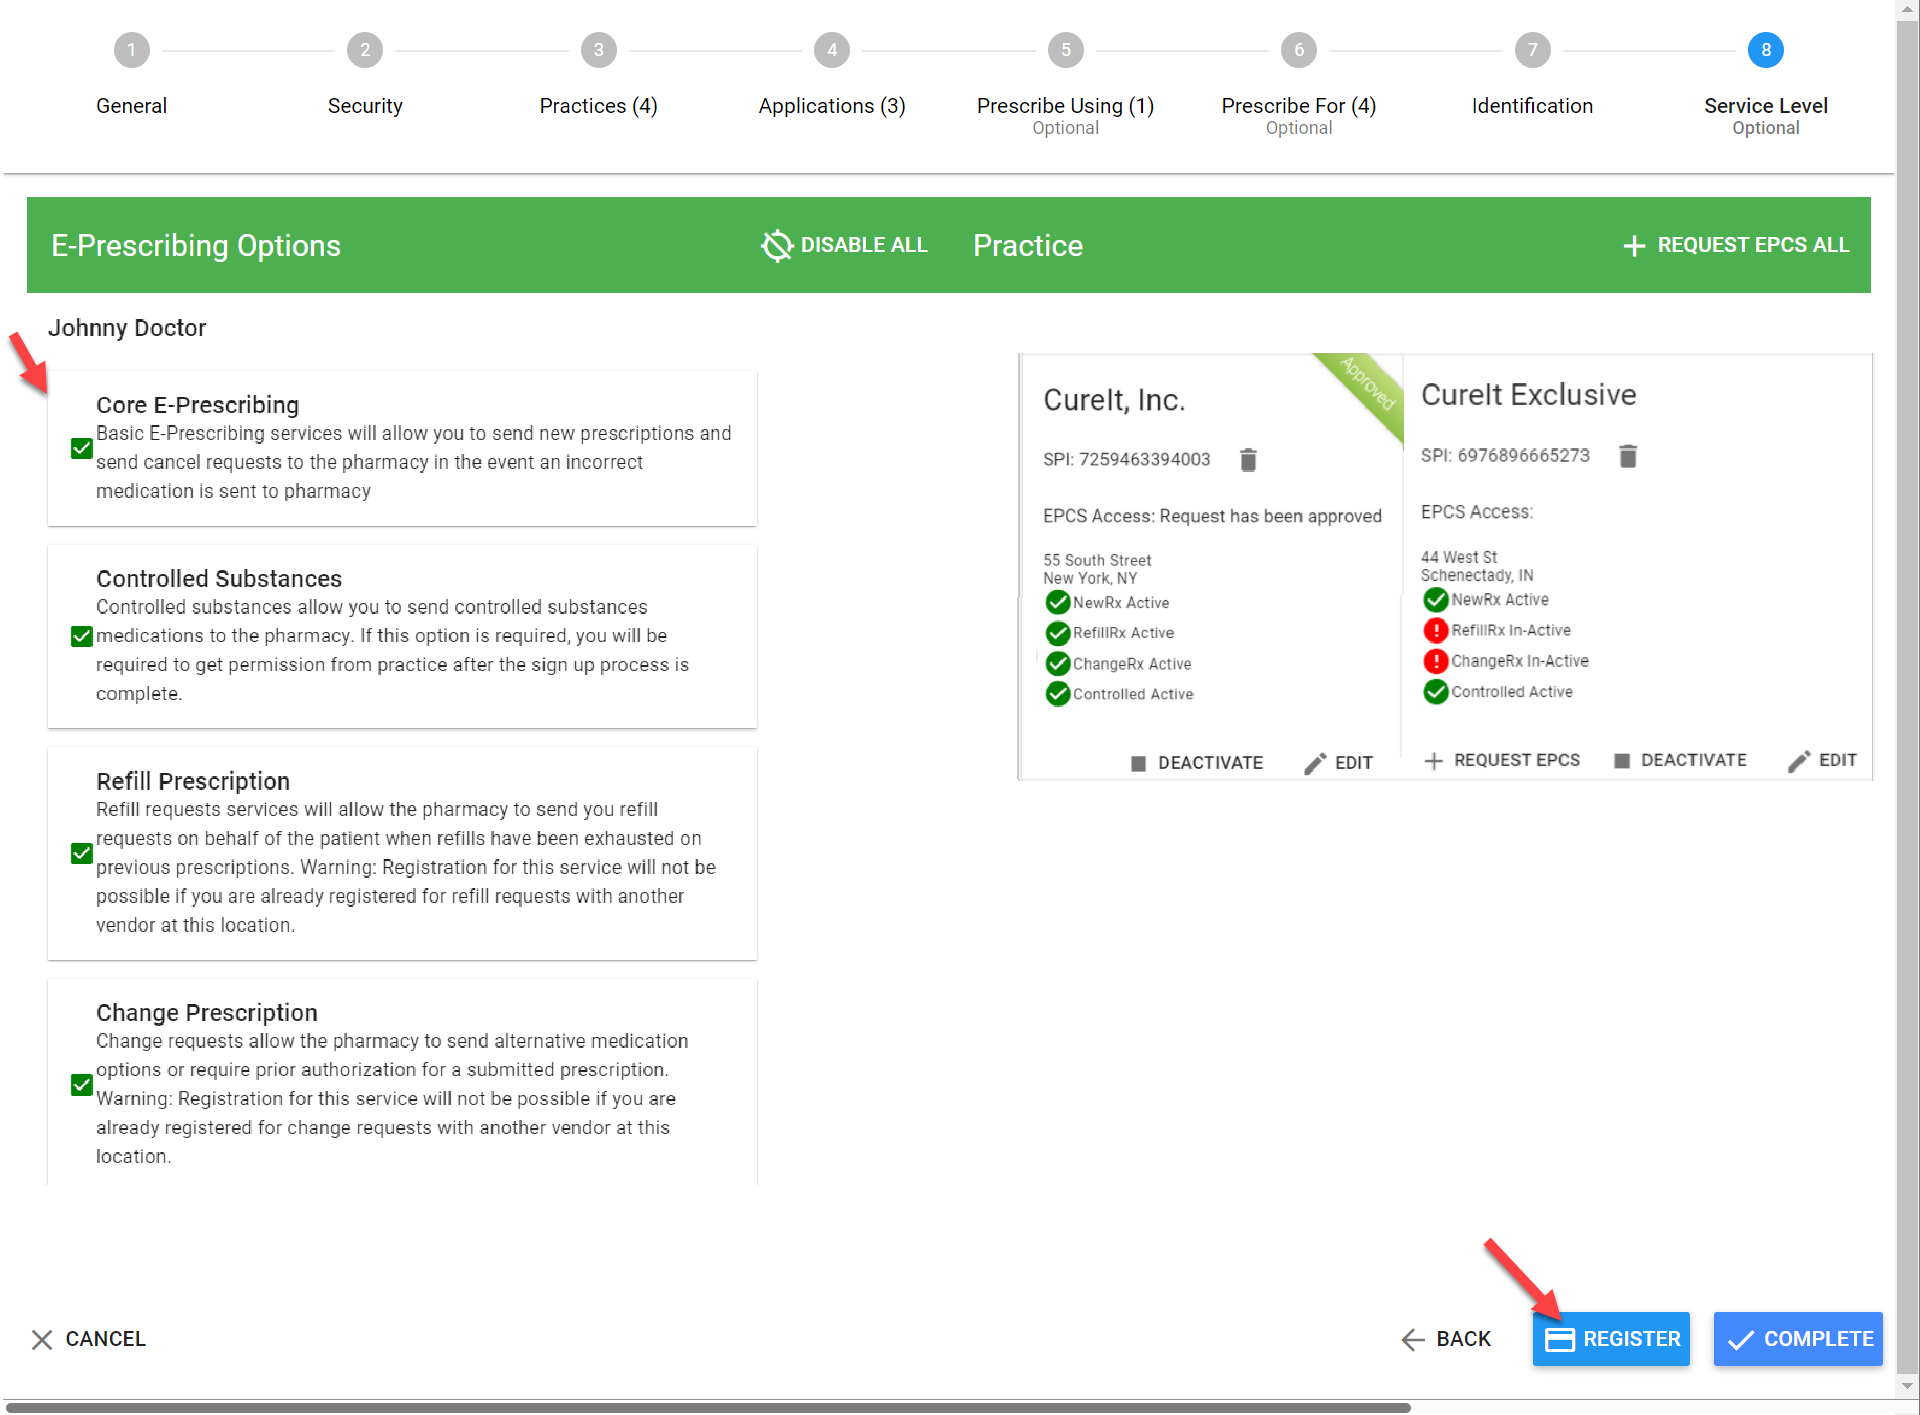
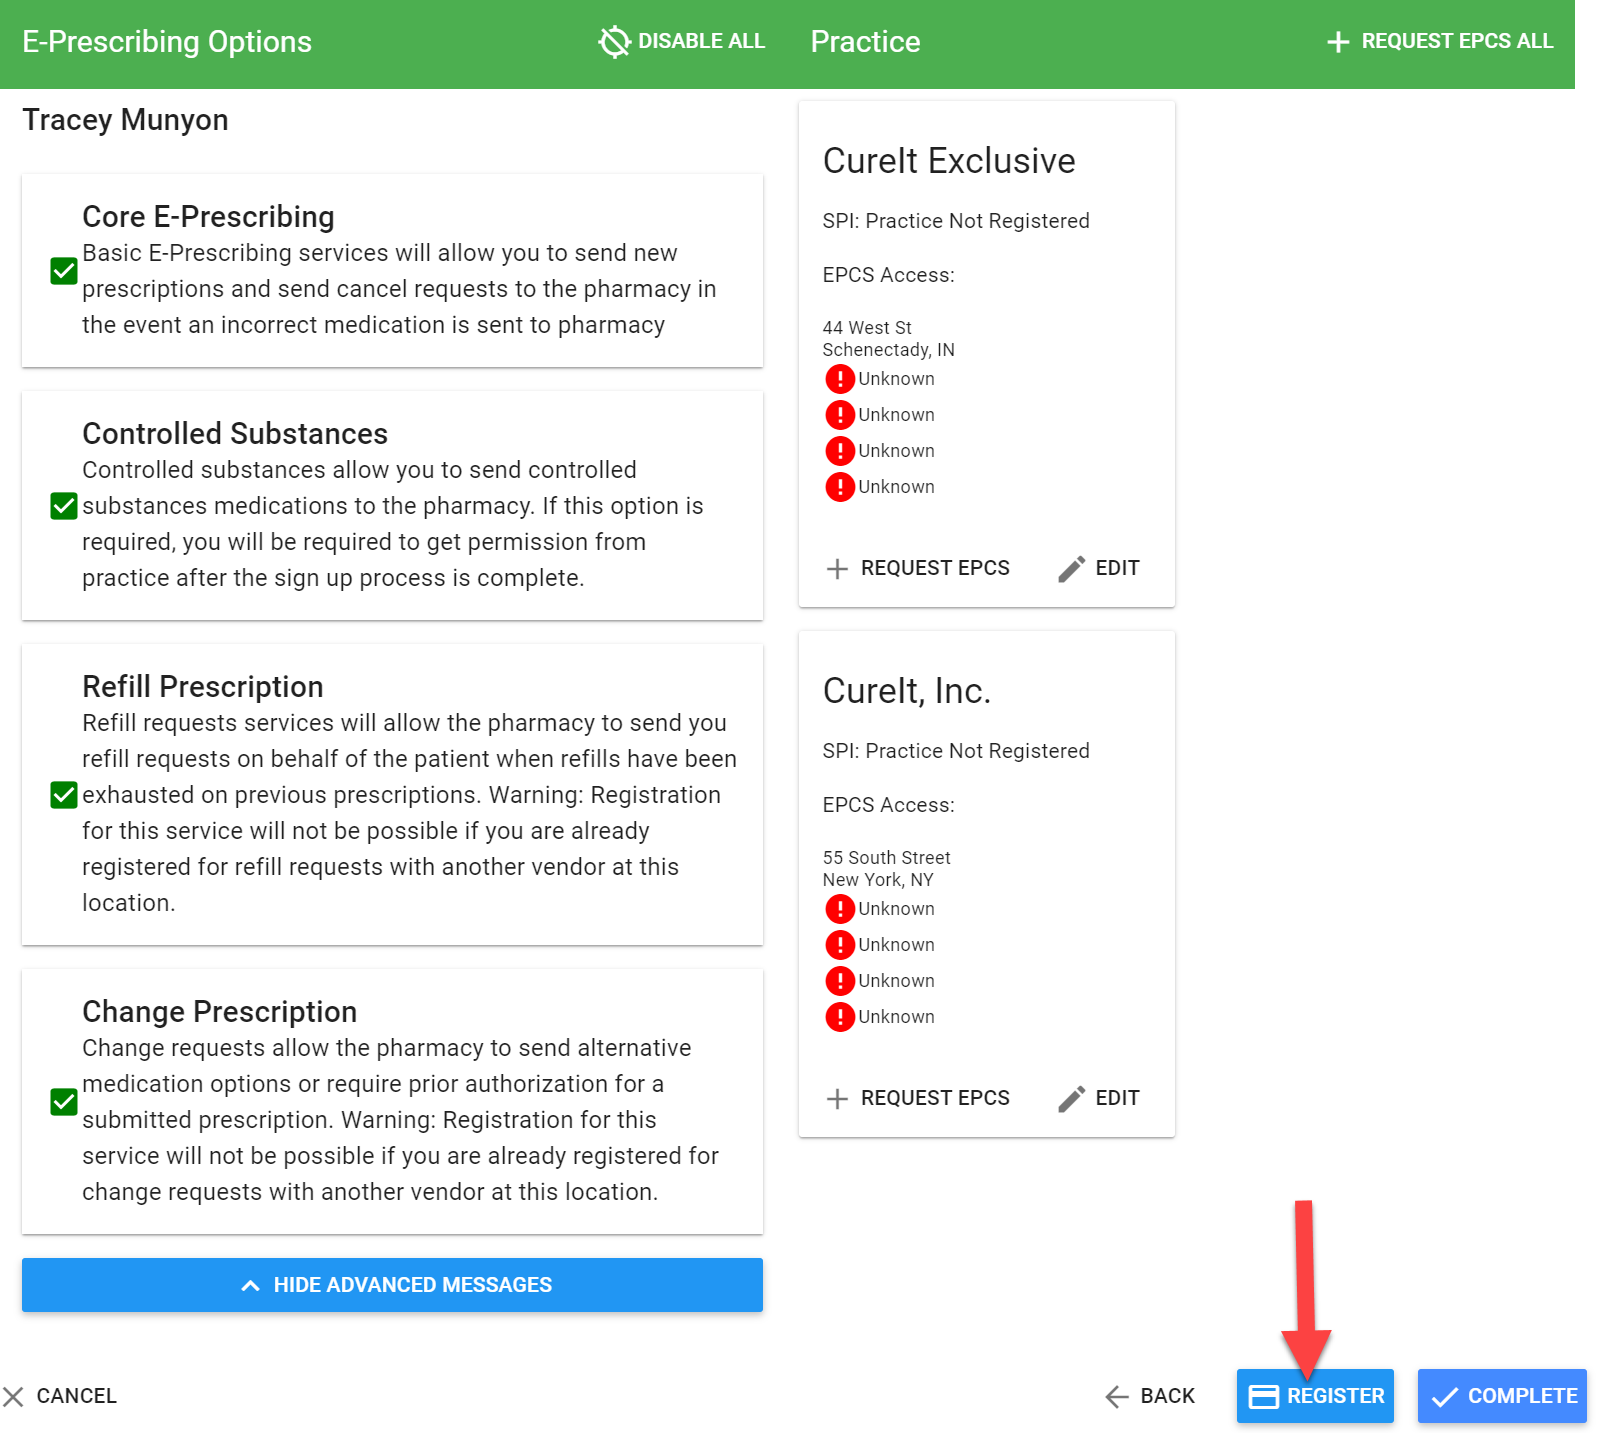
After you register, the system should show the results. There should be a separate box for each practice. In the example below, there are 2 practices: Curelt Exclusive and Curelt, Inc. The example shows that all of the requests for Curelt, Inc were approved (indicated by the 4 green checkmarks) while two of the service levels for Curelt Exclusive had errors (indicated by the 2 red exclamation points).

Troubleshooting Errors- If you receive an error, make sure of the following:
- The DEA and NPI are entered correctly on the previous page (page 7: Identification)
- The spelling of the provider's name matches the NPI Registry.
After you correct the DEA, NPI, or name spelling click "Register".
For help troubleshooting any errors, please contact 1-866-755-1500 or email support@dawsystems.com.
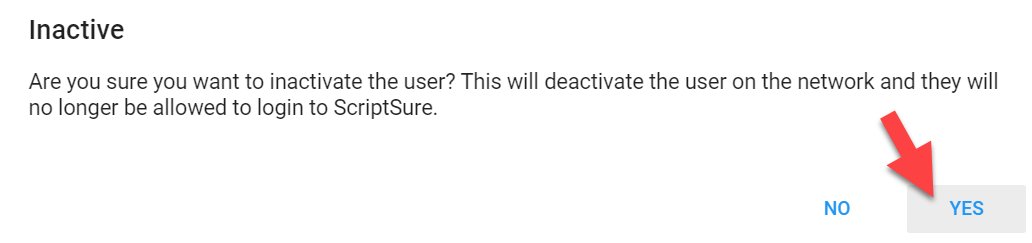
Inactivate User
- From "Manage User List" under settings, click "Edit" on the row for the user.

- Then, select the dropdown for "User Status".
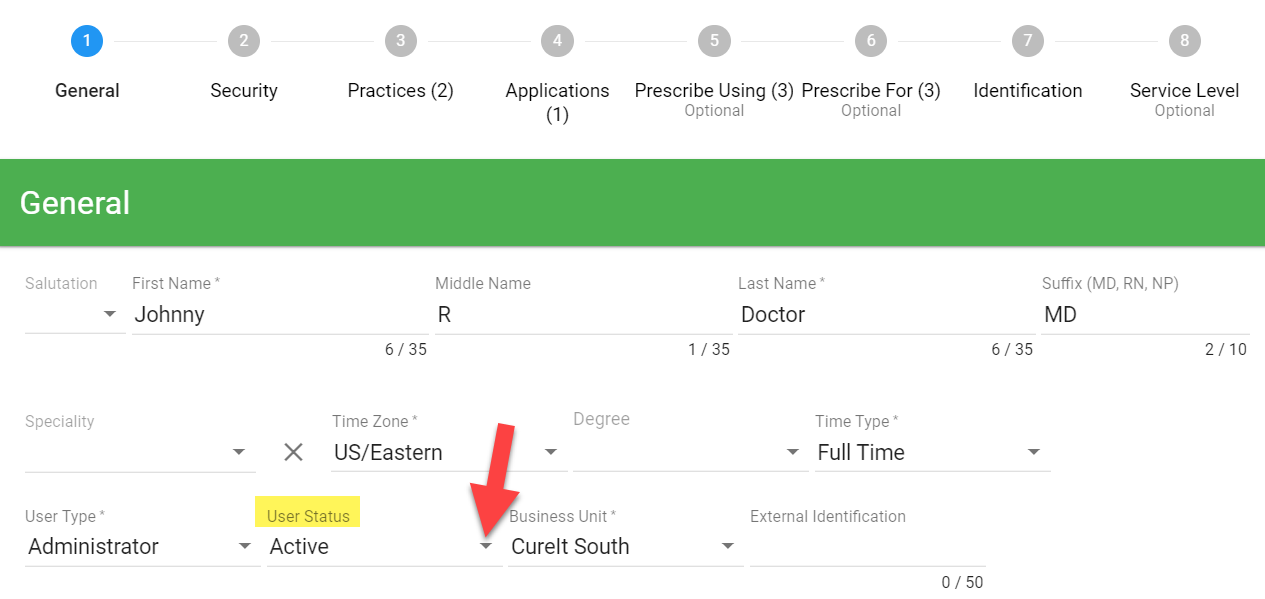
- Select "Inactive".

- Click "Yes" when it asks if you are sure.
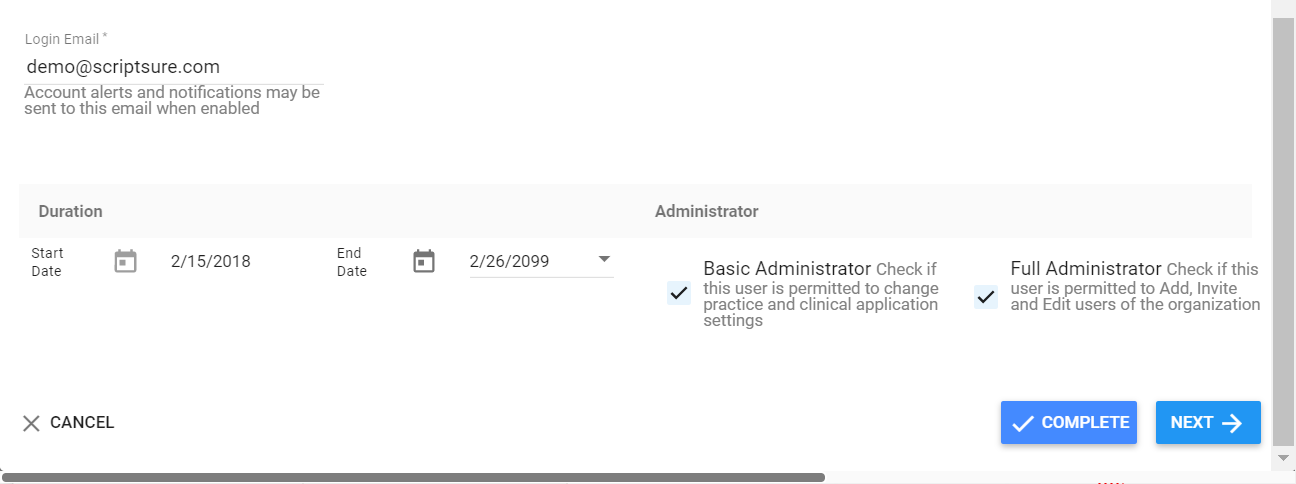
- Enter the end date under "Duration" and click "Complete".


- The user will then be listed under "Inactivated User".

Add User
Click "Add User".

Then, choose "Invite New Supporting User" or "Invite New Prescriber".

Continue through the prompts to invite the user. (For more details, click here.)
Was this article helpful?
That’s Great!
Thank you for your feedback
Sorry! We couldn't be helpful
Thank you for your feedback
Feedback sent
We appreciate your effort and will try to fix the article