ScriptSure now includes a new feature to allow medical providers to approve controlled substances easier. Traditionally, the process for approving a controlled substance is to Log in to ID.me with a username and password and then approve via the ID.me app by push notification, code generator or use a FOB to approve.
The following new feature called EPCS MFA+ allows medical providers to avoid having to login with their ID.me username and password every time a controlled prescription is going to be sent. Instead, medical providers can create a 4-digit code to replace the ID.me login. This new feature carries the additional benefit of no longer accessing a separate window controlled by ID.me. Users no longer need to account for pop-up blocker and cross-site traffic enablement in the browser and on the device being used.
Both existing and new medical provider users of ScriptSure follow the same process to setup their EPCS MFA+. Supporting users cannot setup EPCS MFA+ for their profile.
The primary setup of ID.me account is STILL REQUIRED FOR ALL PROVIDERS. The setup of EPCS MFA+ is secondary to the provider’s ID.me account setup.
Review the steps below to learn the process to set up EPCS MFA+.
1. Log into ScriptSure
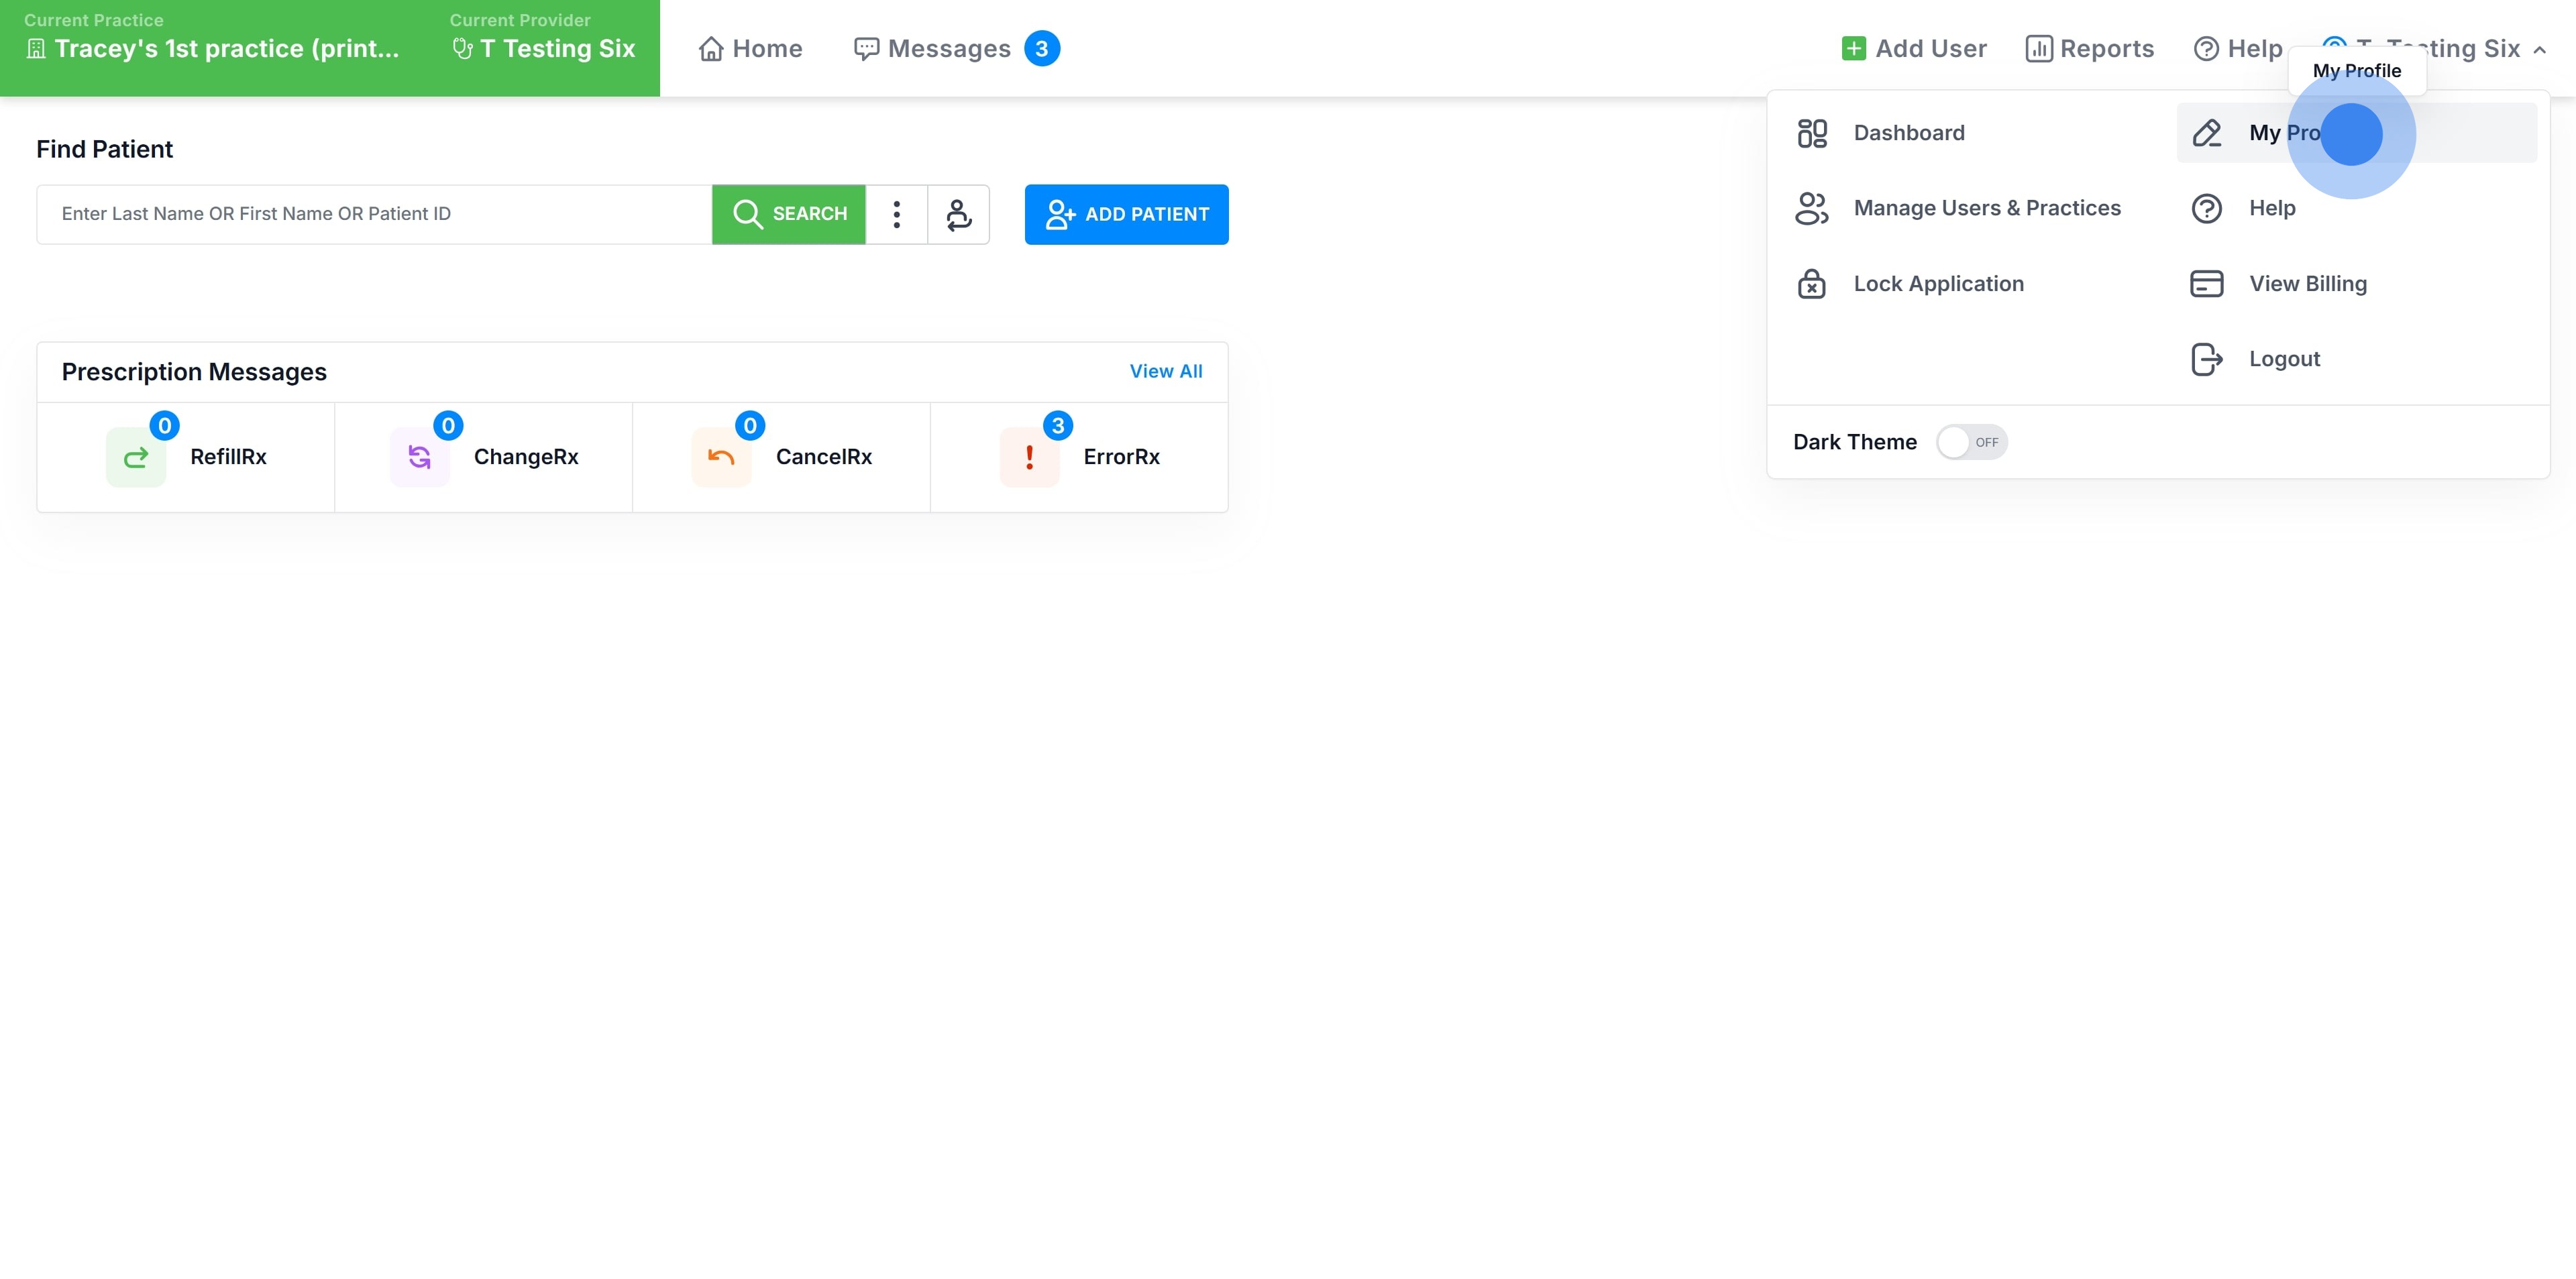
2. Click on your name.

3. Select "My Profile".
4. Click on "Enable EPCS MFA+".

5. Click on "Start MFA+ Registration".

6. Set and confirm your passcode.

7. Select your preferred MFA option. Options include:
Code Generator
Push Notification

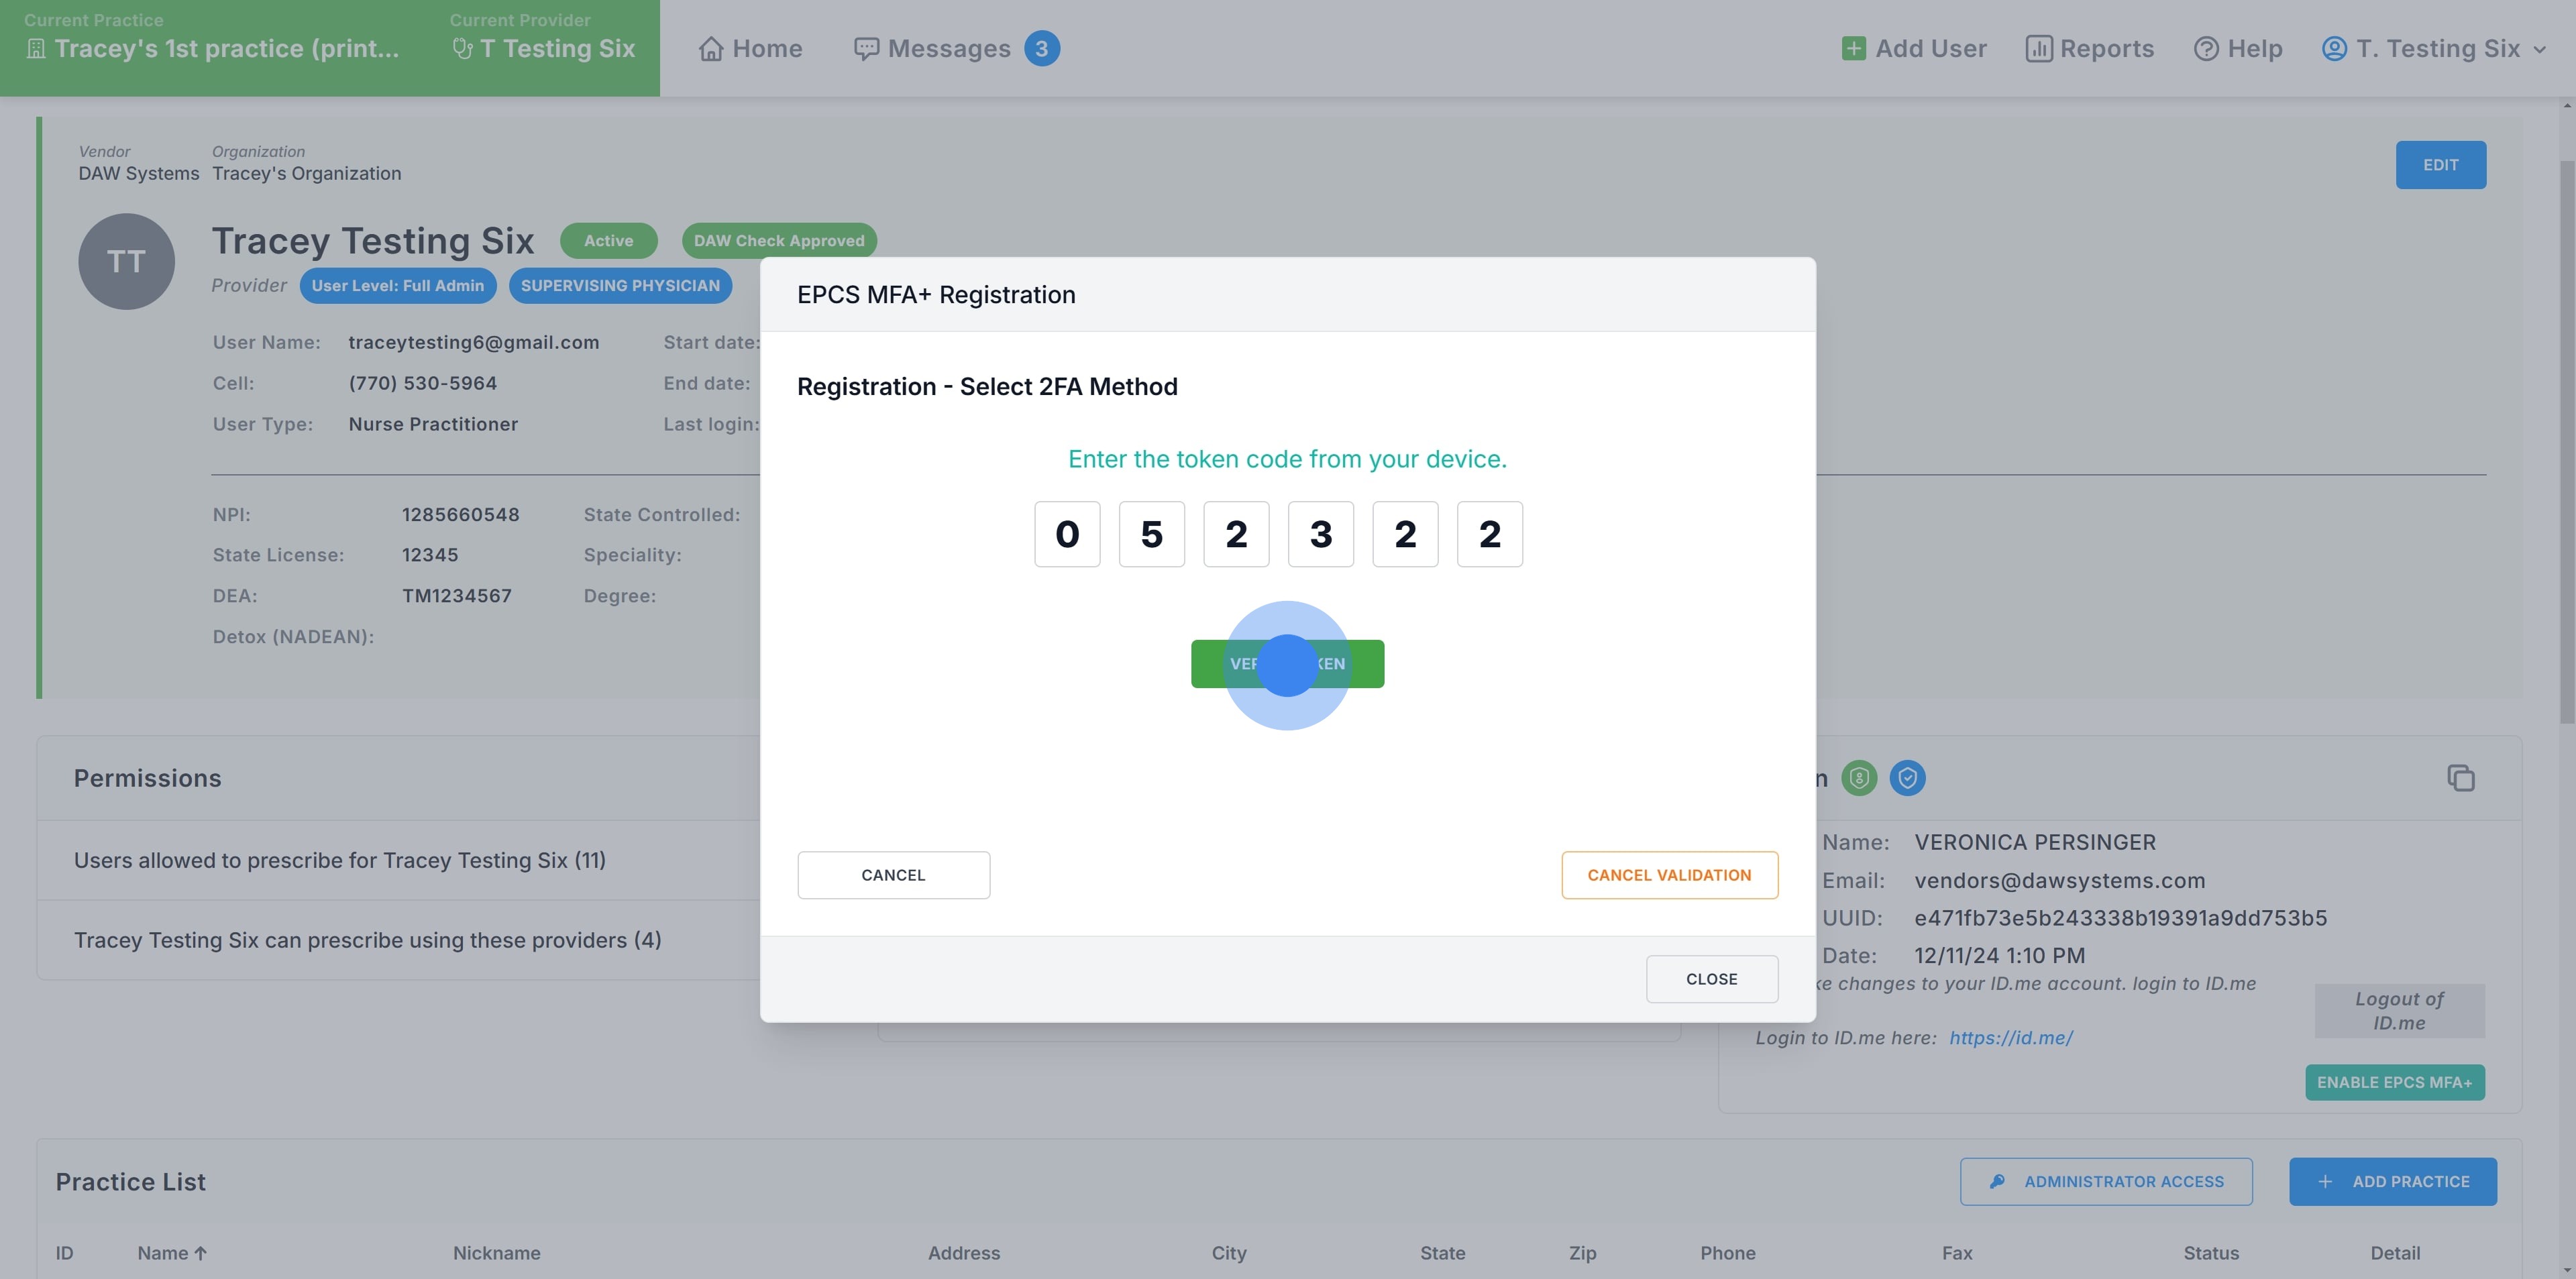
8. For this example, we are using the Code Generator, so I am entering the code provided by the authenticator app on my phone.
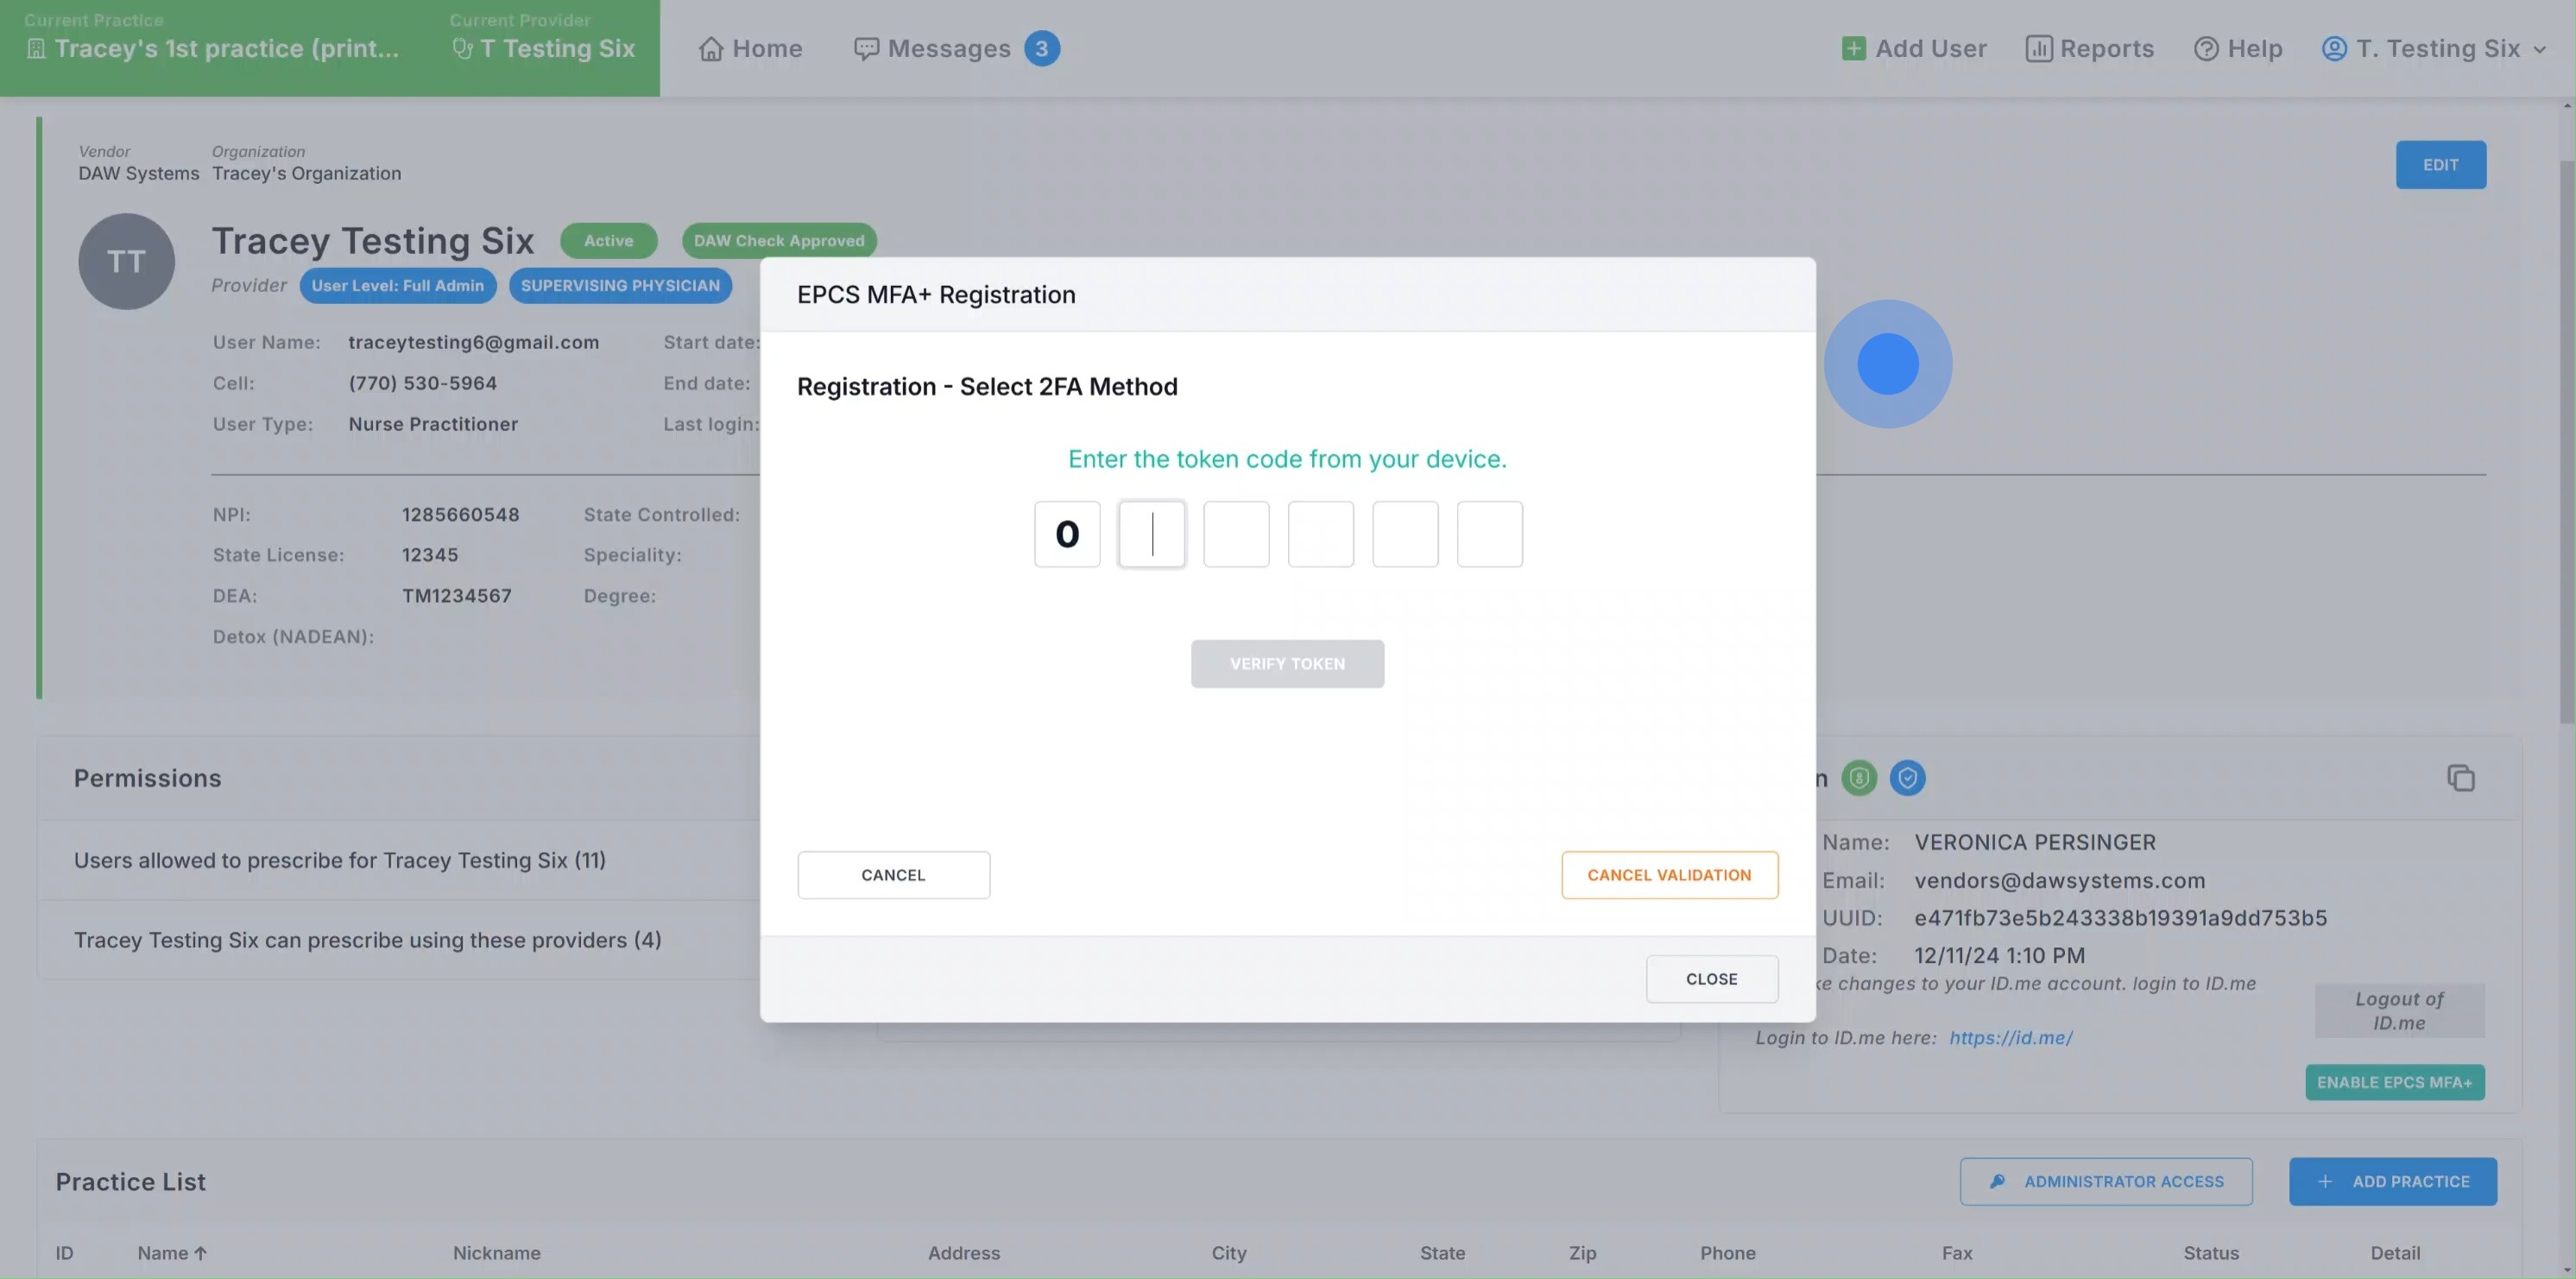
9. Click on "Verify Token".
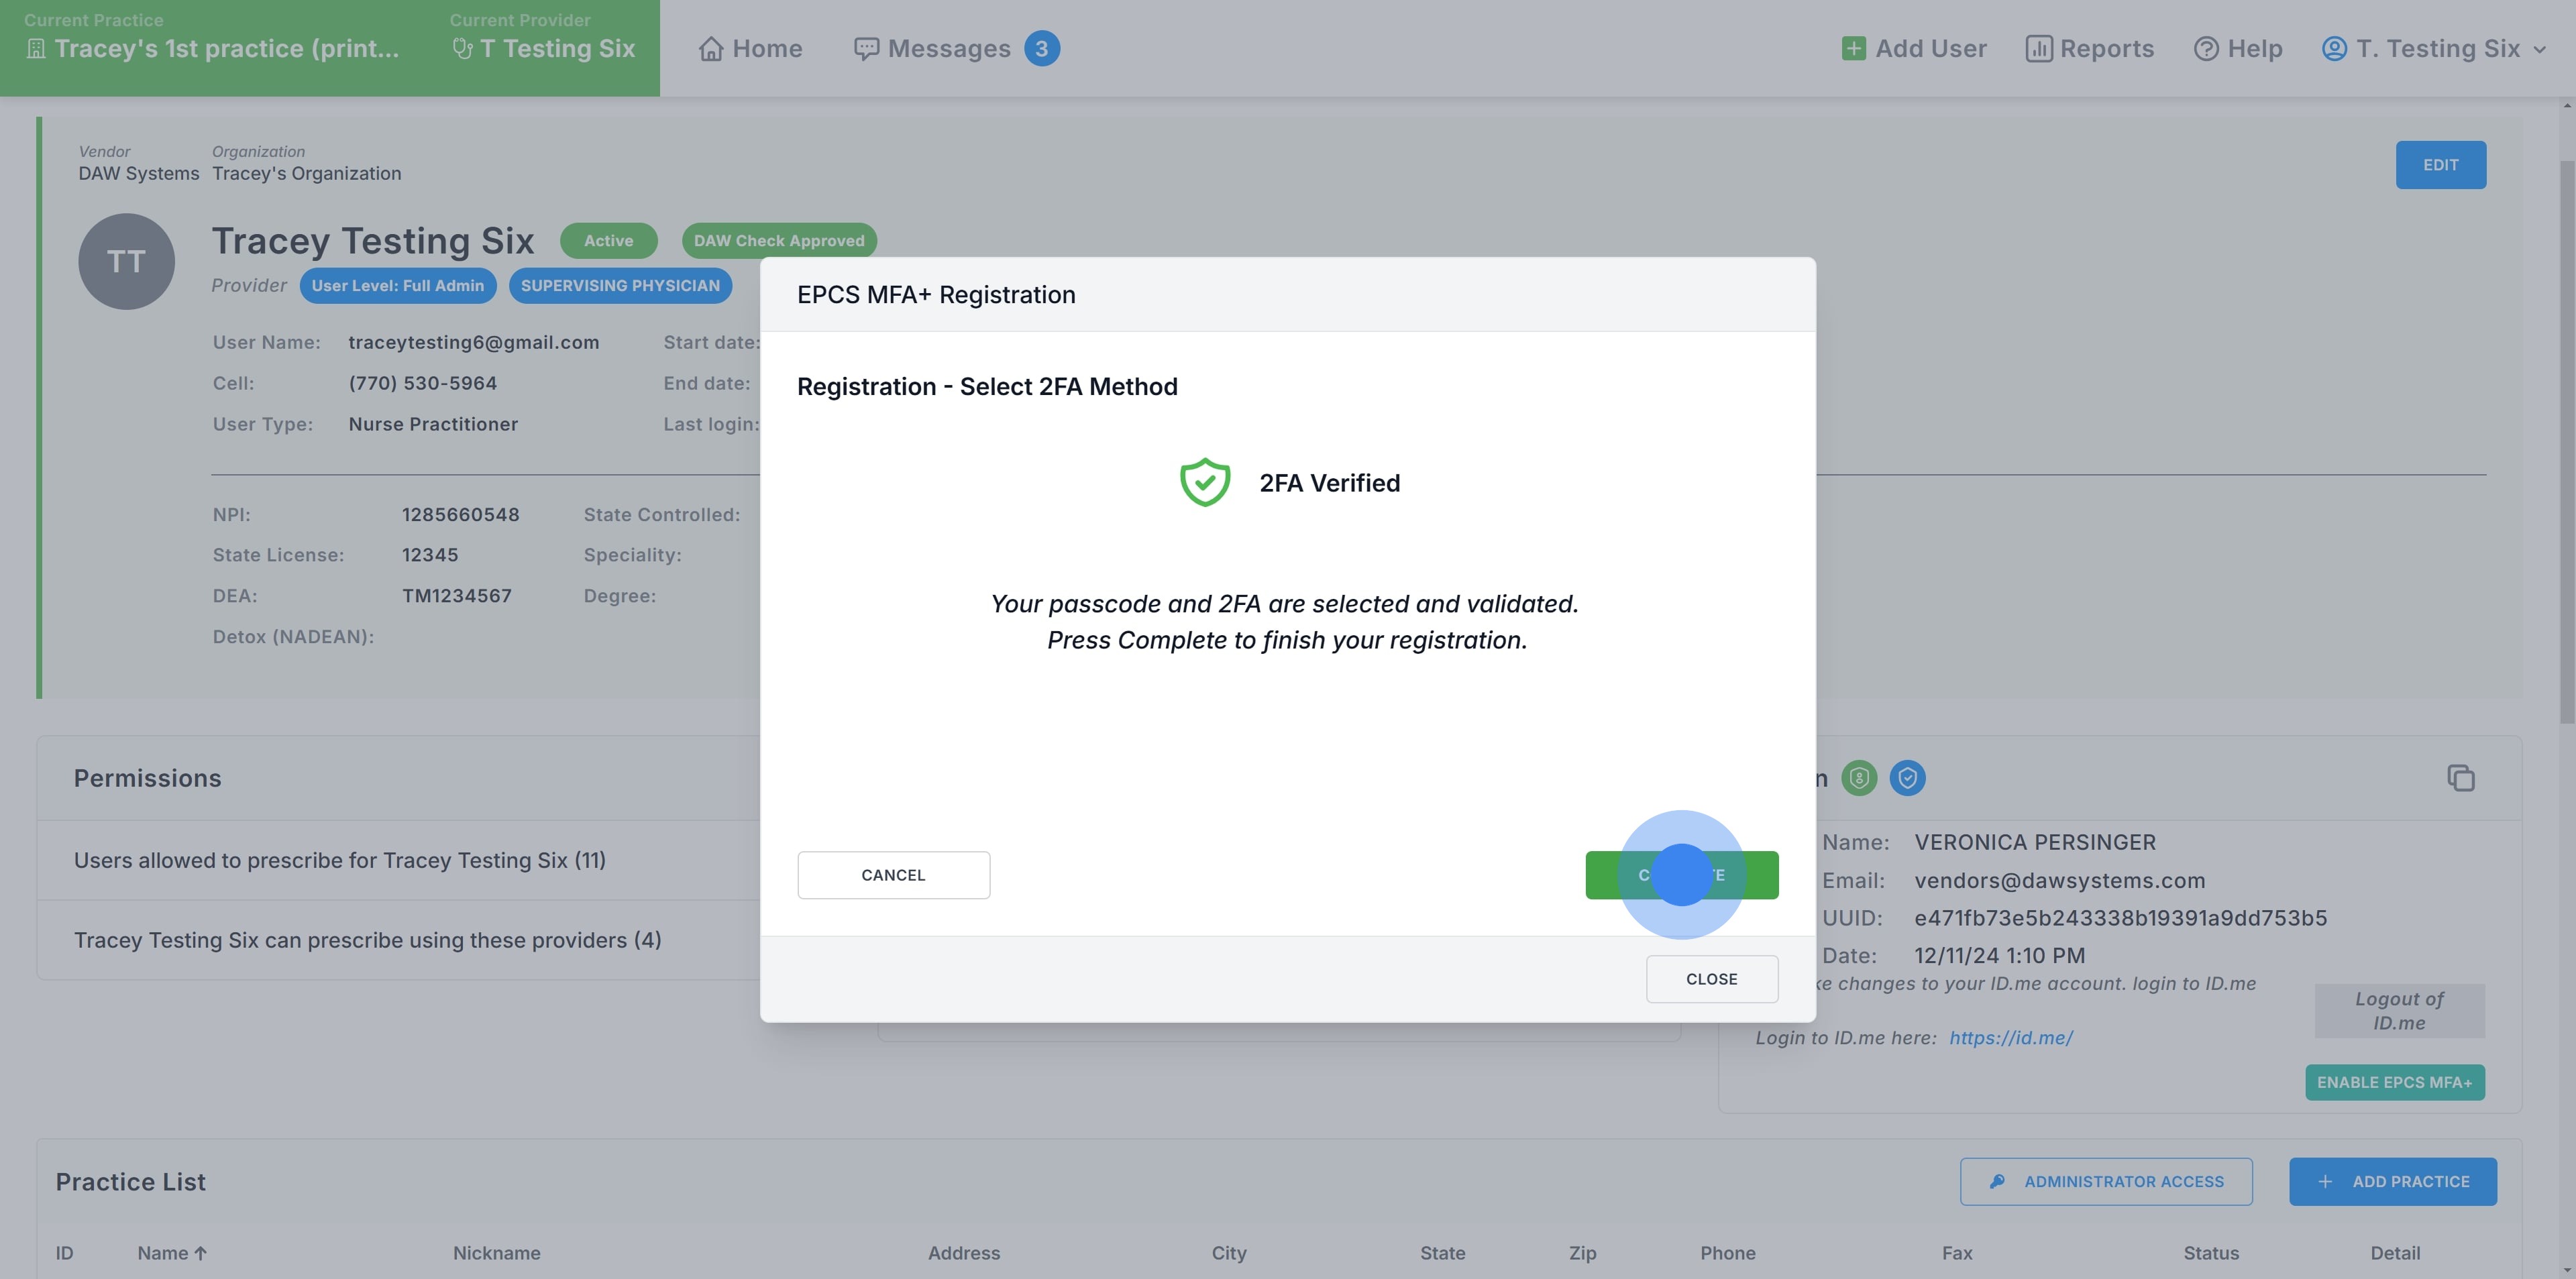
10. When you have set your passcode and completed your MFA option, click on "Complete".
Note: You can change your passcode by clicking here.

Note: To change your default MFA method, click here.

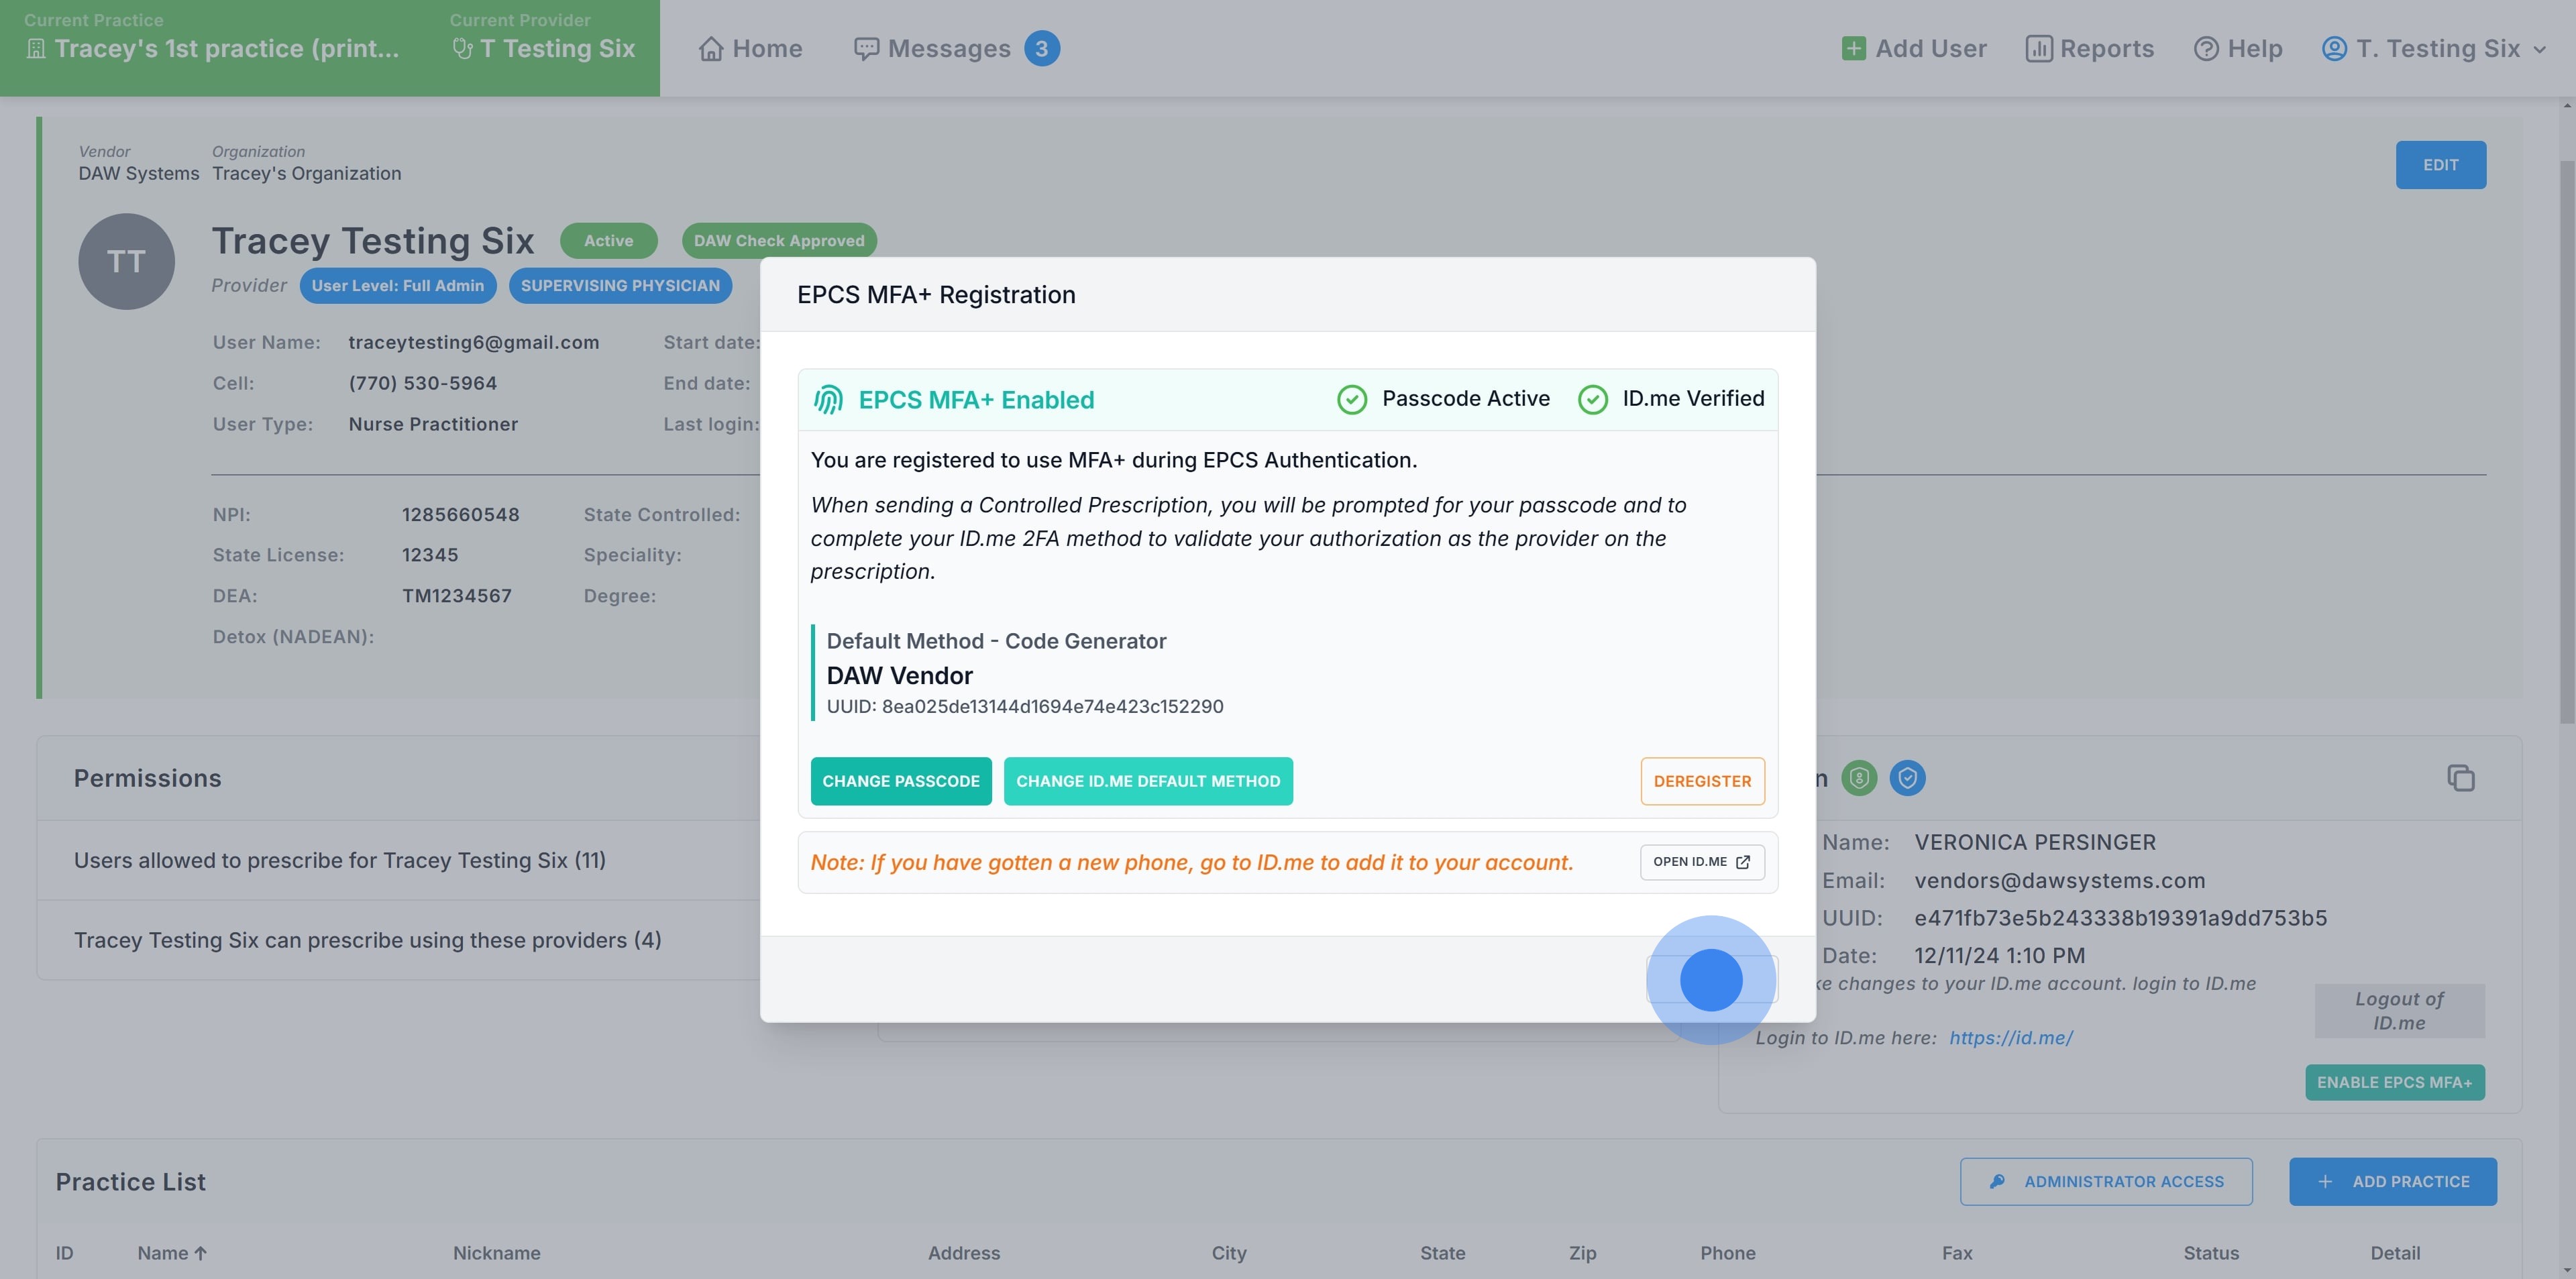
Note: To remove MFA+ from your account, click "Deregister".
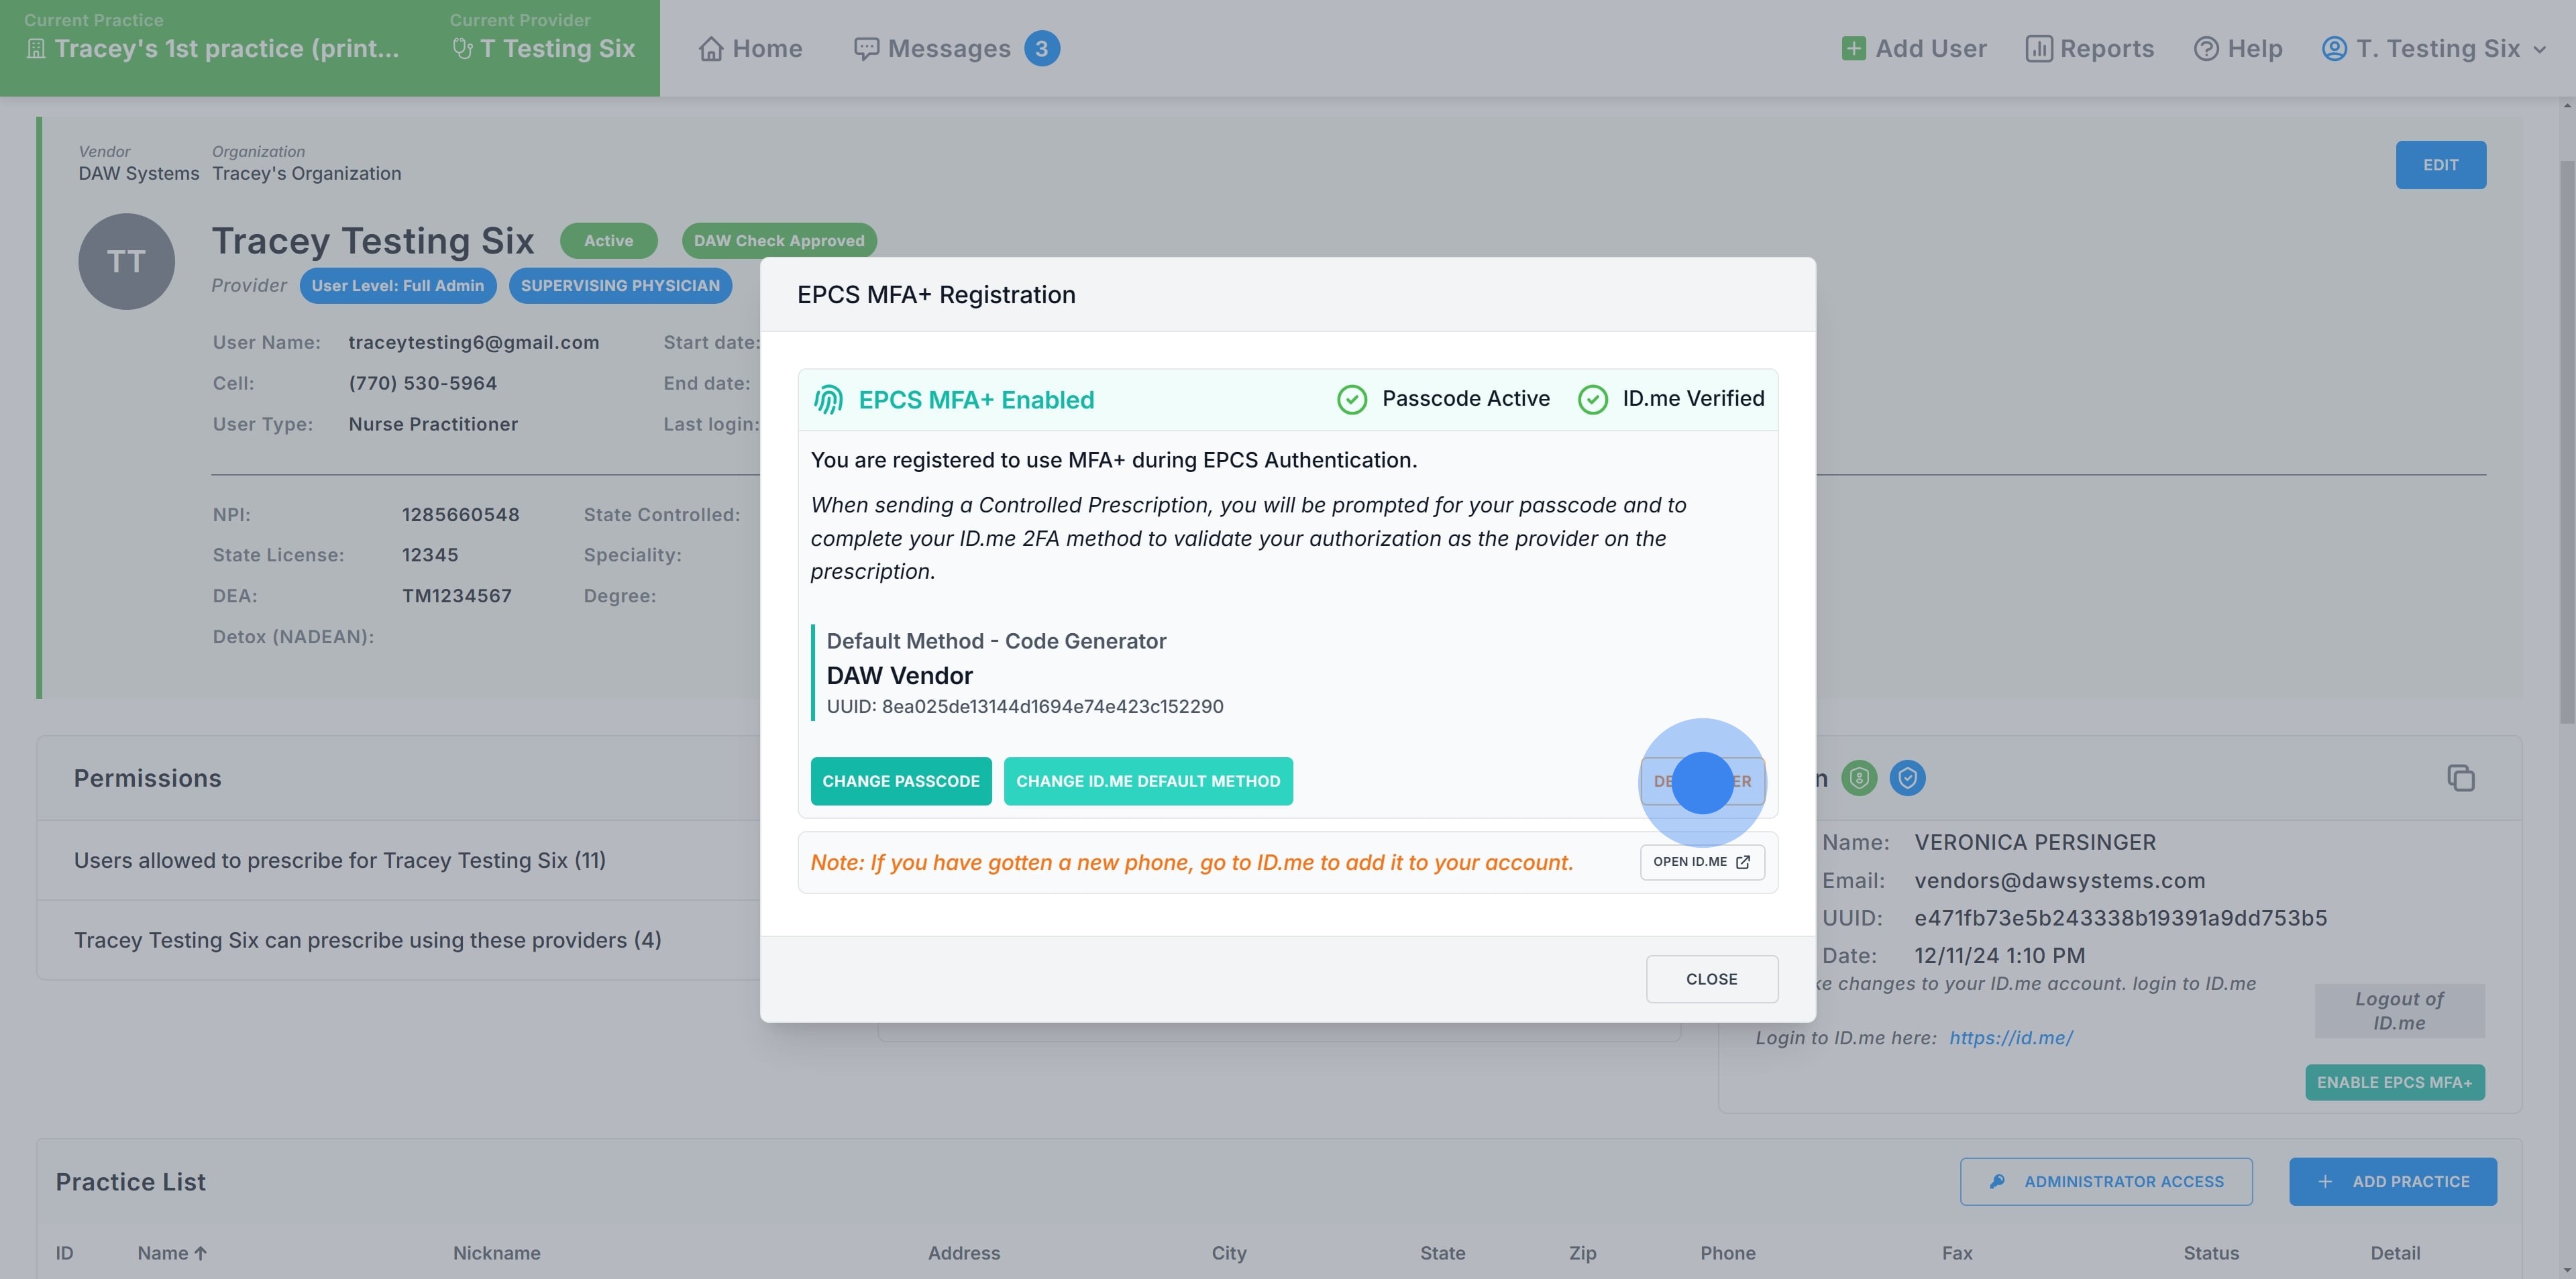
Note: To set up new MFA options or manage your ID.me account, you can click here.

11. As a final step, click "Close".
DEMO: (Click the image below to walk through the process of setting up MFA+)
Was this article helpful?
That’s Great!
Thank you for your feedback
Sorry! We couldn't be helpful
Thank you for your feedback
Feedback sent
We appreciate your effort and will try to fix the article